
Wall World Strategy First Zyrex Attack: Timer, Outposts
Prepare for the first Zyrex attack in Wall World Strategy: swarm countdown location, building two Outposts, Intelligence Center tips, and First Onslaught.
FAQ
What Steam achievement marks the first Zyrex defense?
How many Outposts does the early tutorial objective require?
Where is the swarm countdown on screen?
Can I finish a scenario without building an Intelligence Center?
The first Zyrex attack is when Wall World Strategy starts grading fixed Wall defenses, not only colony logistics. Steam’s First Onslaught achievement text is simply Repel the first Zyrex attack. In the DeepSpaceMatt playthrough we checked, the campaign also tracks two Outposts on the Wall face before the swarm arrives. This page stays on those verified UI beats and does not quote wave sizes or enemy mixes we could not confirm.
Where do I see the first swarm countdown?
Two timers show up in materials we checked:
- Swarm attack countdown — In the DeepSpaceMatt playthrough, a countdown for the next swarm sits in the lower-left area of the HUD.
- Intelligence Center readout — After you build an Intelligence Center, the building can show remaining time until the next wave. One frame we checked displayed 1 day and 4 hours.
Intelligence Center tutorial text in that footage asks you to watch an approach meter for the approaching swarm and to open the wave interface to see which side enemies will use. That matters because the Official FAQ lists enemy attack direction as procedural alongside Zyrex waves.
For UI detail on approach meters and flanks, see defending waves. For food, roads, and power before defense goals fire, see the beginner guide and power and electricity.
Why build two Outposts before the first wave?
The DeepSpaceMatt playthrough shows a 2/2 Outpost objective tied to front-line defense, labeled along the lines of On the Front Line. Outpost tooltip text in the same flow describes small caliber machine guns that fire on enemies in range.
In that footage, players place Outposts in a recommended defensive zone on the Wall. Early steps do not require dragging a full power grid to every Outpost tile before the first wave, though later UI in the same playthrough can mark some defense tiles as needing power—a conflict we flag below.
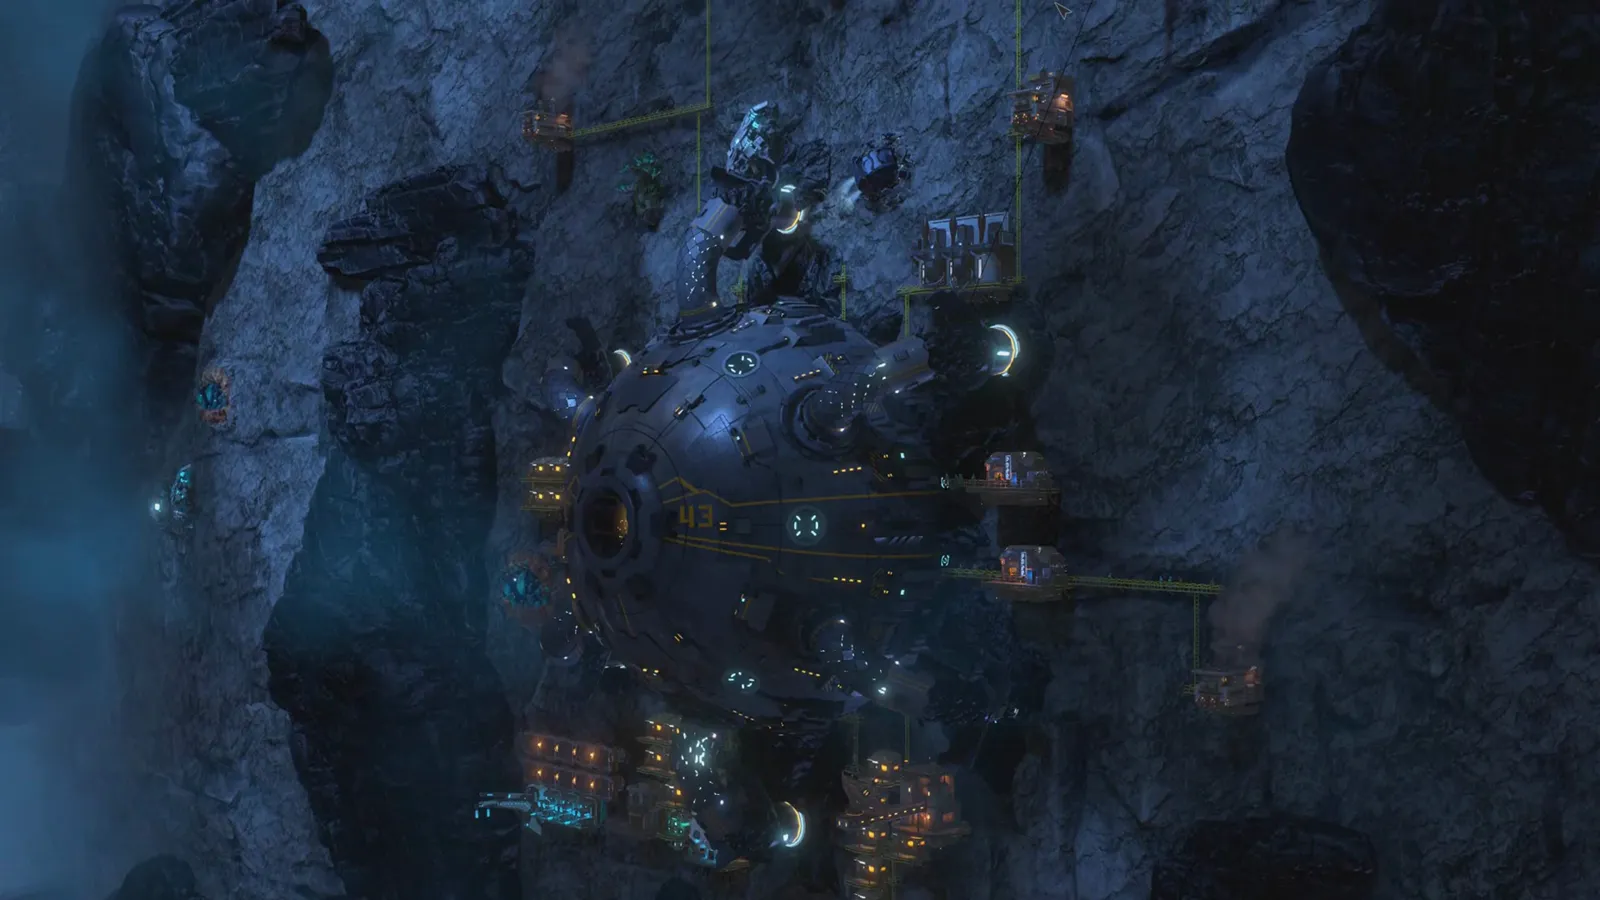 The Launch Trailer shows explosions and Zyrex on a vertical Wall face. Source: Wall World Strategy Launch Trailer.
Later campaign objectives in footage we checked mention Core turrets and other defense research by name. We do not state how many guns you need or when research unlocks beyond what your scenario goals show.
How do I read attack direction before the first onslaught?
| UI piece | What tutorial text or footage showed |
|---|---|
| Approach meter | Tracks the approaching swarm (Intelligence Center tutorial). |
| Wave interface | Shows enemy approach directions on the Wall map. |
| Direction markers | Later waves in other videos can show several bearings at once (for example north, northeast, southeast). |
The FAQ does not promise the first wave uses only one direction every seed. Until the wave interface shows a bearing, the defensive highlight band from the Outpost objective is the clearest verified placement hint in the footage we checked.
What happens after the first wave?
When a wave ends, footage we checked shows UI such as Storm attack repelled (wording can vary slightly) and buildings marked damaged. A hidden Steam achievement, No Room for Error, proves you can survive three consecutive waves with no repairs between waves, so patching immediately is not mandatory.
For Repair Shop flow, power during sieges, and intel between waves, continue with defending waves. For named enemy types tied to hidden kill achievements, see Zyrex overview.
What we have not verified yet
- Whether every Outpost must join the power grid on wave one — early commentary allows placement without grid extension, but later UI in the same video shows a defense tile needing power.
- Exact countdown numbers on your seed and difficulty beyond the single 1 day and 4 hours example.
- Which Zyrex types appear in wave one (Steam names three hidden types, but we have no verified first-wave roster).
Sources and verification
- Steam achievements — First Onslaught, Flying Blind (wiki table).
- Official FAQ — procedural attack direction and Zyrex waves.
- DeepSpaceMatt — BUILD, MINE, AND DEFEND YOUR COLONY! Wall World Strategy (Intelligence Center strings); same video (two-Outpost goal); same video (Outpost machine-gun tooltip); same video (lower-left swarm countdown).
- CG Plays — A Game Where You Build A Colony On A Giant Wall and It’s Great! (Defense build menu near tutorial beats).
- Splattercatgaming — Post Apocalyptic Last Stand Base Building Strategy! (Intelligence Center timer example “1 day and 4 hours”).
- Wall World Strategy Launch Trailer (official Steam video app
257500075). - Last checked against Steam data and public gameplay footage on 2026-11-13.
Related Articles
guides
Wall World Strategy Beginner Guide: First Build Order
First-colony steps from Steam data and public footage: roads to Core, Canteen, Rain Collector, power, housing, Laboratory, and a first Outpost.
guides
Is Wall World Strategy Worth It? Price, Platforms, and Facts
Steam price, platforms, languages, controller and Deck support, system requirements, and how Wall World Strategy compares to Wall World—Steam store data only.
guides
Morale, Promises, and Trust in Wall World Strategy
Wall World Strategy morale, housing, riots, and promise deadlines—what Steam and public footage show about trust, homelessness, and colony stability.
Was this helpful?
Thanks for the feedback!